How To Use Laptop As Monitor: A Comprehensive Guide
In today’s digital workspace, having multiple screens can significantly boost productivity. Whether you’re a business professional, gamer, or student, there may come a time when you want your laptop to serve as a second screen. This guide will walk you through the process of setting up your laptop as a monitor, exploring various connection options, and highlighting the benefits of this setup. It will also cover compatibility with different devices and operating systems.
Why Use Your Laptop as an External Monitor?
Using your laptop as a second screen offers several advantages:
- Cost-effective solution compared to buying a dedicated second monitor
- Increased screen real estate for multitasking
- Ideal for viewing documents side-by-side
- Enhanced productivity for research and composition tasks
- Dedicated display for communication tools like Slack or Microsoft Teams
- Improved gaming experience with separate screens for gameplay and strategy guides
- Repurposing a spare laptop as a second monitor provides a cheaper way to build a multi-display setup
- Productivity boost for content creators, students, and professionals who need to work across multiple screens
- Flexibility to create a temporary multi-monitor setup when working remotely or traveling
Requirements for Using Your Laptop as a Monitor
Before you begin, ensure you have the following:
- A primary computer (desktop or laptop) running Windows 10 or later
- A secondary laptop to use as the monitor, also running Windows 10 or later
- Both devices updated to the latest version of Windows
- Both devices connected to the same network (wired or wireless)
- HDMI cables if using a wired connection for optimal video quality and compatibility
- A video capture device if using certain types of connections to ensure proper resolution support and low-latency capabilities
- Sufficient power supply or fully charged batteries for both devices
Laptop Screen Extenders: An Alternative Solution
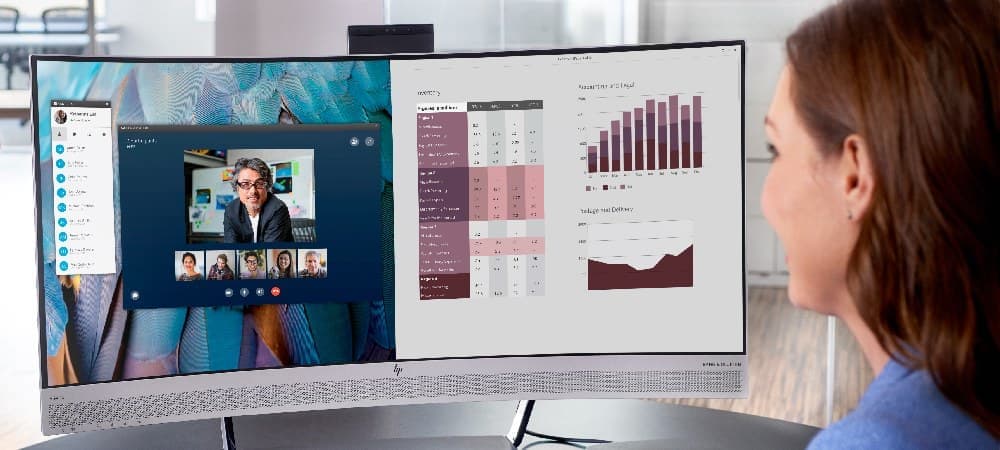
For users seeking a dedicated portable solution without repurposing an entire laptop, laptop screen extenders offer a specialized alternative. Unlike using a full laptop as a monitor, screen extenders are purpose-built portable displays designed specifically for mobility and seamless integration with your existing laptop. These devices typically connect via USB-C or HDMI and provide additional screen real estate without the complexity of configuring a second computer. Many modern extenders feature slim profiles, lightweight construction, and simplified connectivity options that make them ideal for professionals who need extended screen space without sacrificing portability. Research shows that using multiple displays can increase productivity by up to 42%, allowing you to view multiple applications simultaneously and reducing the time spent switching between windows. For a comprehensive overview of the latest laptop screen extender options and features, see our Ultimate Guide to Laptop Screen Extenders.
Setting Up Your Laptop as a Monitor
Follow these steps to configure your laptop as a second screen:
- Check Compatibility: Ensure both your main system and laptop support the necessary connections.
- Connect the Devices: Use an HDMI cable or other compatible connection to link your main system to the laptop.
- Configure Display Settings:
- Open the display settings on your main system.
- Select the option to extend your display.
- Choose the option to project the main system to the laptop’s display.
- Use Software Solutions: Consider using software solutions like remote desktop applications to share displays across multiple devices. This can be particularly useful if you want to extend the laptop’s display across multiple monitors or use a spare laptop’s display for additional screen real estate.
- Adjust Resolution and Layout: Fine-tune the resolution and layout settings to ensure a seamless display experience.
Step 1: Enable Projection on Your Secondary Laptop
- Open the Settings app on the Windows laptop you want to use as a second display
- Navigate to System > Projecting to this PC
- From the dropdown menu, select “Available everywhere” or “Available everywhere on secure networks”
- Choose your preferred options for requesting projection access and requiring a PIN for pairing
- Optionally, enable the “Allow input from keyboard or mouse connected to this display” option for more flexibility
Step 2: Connect Your Primary Computer
- On your main computer, press Windows Key + P
- Select “Connect to a wireless display”
- Choose your laptop from the list of available devices
- If prompted, enter the PIN displayed on your laptop screen
Note: These steps can also be used to connect to an external monitor, such as a TV or a spare laptop, to create a multi-display setup. For macOS users, the process is similar but involves using the “AirPlay” feature instead.
Step 3: Configure Display Settings
- Once connected, right-click on your desktop and select “Display settings”
- Scroll down to the “Multiple displays” section
- Click on “Detect” if your second screen isn’t showing
- Choose “Extend these displays” from the dropdown menu to extend the laptop display
- Arrange your displays as desired and set your primary display
- Adjust the scaling and resolution for each display to ensure optimal visibility and compatibility
Tips for Optimal Performance
- Ensure both devices have a strong Wi-Fi connection for smooth performance
- Close unnecessary applications on the secondary laptop to free up resources
- Adjust the display scaling if text appears too small on the laptop screen
- Use the “Night light” feature on both devices to reduce eye strain during extended use
- Consider using a laptop stand or ergonomic setup to maintain proper posture when using multiple displays
- Regularly update your graphics drivers to ensure the best compatibility and performance
- Experiment with different display arrangements to find the most comfortable and productive setup for your needs
Limitations and Considerations
While using your laptop as a monitor is convenient, keep in mind:
- There may be slight input lag compared to a dedicated monitor
- The connection may not be suitable for high-performance gaming or graphics-intensive tasks
- Video playback might experience occasional stuttering or synchronization issues
- The laptop’s battery will drain faster when used as a display
- Not all laptops support being used as a secondary display, especially older models
- The quality of the display may vary depending on the laptop’s screen specifications
- Wireless connections may be less stable than wired ones, potentially affecting performance
Alternative Methods: Wireless Display
If you’re using an older version of Windows or experiencing connectivity issues, consider these alternatives:
- HDMI Connection: If your laptop has an HDMI input port, you can directly connect it to your primary computer using an HDMI cable. For setups that require more advanced configurations, you might need a video capture device to ensure proper connection and display quality.
- Third-Party Software: Applications like SpaceDesk or Input Director offer additional features and compatibility options. These can be especially useful for cross-platform setups or when working with older hardware.
- Remote Desktop Applications: Software like TeamViewer or Chrome Remote Desktop can be used to access and control one computer from another, effectively turning your laptop into a second display.
- Miracast Technology: Some Windows devices support Miracast, which allows for wireless screen mirroring without the need for additional software.
Conclusion
Using your laptop as a monitor is a practical and cost-effective way to expand your workspace. With Windows 10 and 11’s built-in features, it’s easier than ever to set up a multi-display environment. Whether you’re working on complex projects, gaming, or simply need more screen real estate, this guide will help you make the most of your existing hardware.
Remember, while this solution works well for many scenarios, investing in a dedicated second monitor might be worthwhile for more demanding applications or if you require the absolute best visual quality and performance. Consider your specific needs, budget, and workspace constraints when deciding between using a laptop as a monitor or purchasing a dedicated display.
By following this guide and experimenting with different setups, you can significantly enhance your productivity and create a more versatile work or entertainment environment using the devices you already own.