How to Connect Laptop to WiFi: The Ultimate Guide for Windows 10 and 11
In our increasingly connected world, knowing how to connect to Wi-Fi is an essential skill. Whether you’re setting up a new computer, troubleshooting connection issues, or trying to get online in a new location, this comprehensive guide will walk you through everything you need to know about connecting to WiFi on Windows 10 and Windows 11.
Understanding WiFi Network Basics
Before we dive into the connection process, let’s cover some basics:
- WiFi: Wireless Fidelity, a technology that uses radio waves to provide network connectivity, creating a wireless network.
- SSID: Service Set Identifier, the name of the WiFi network.
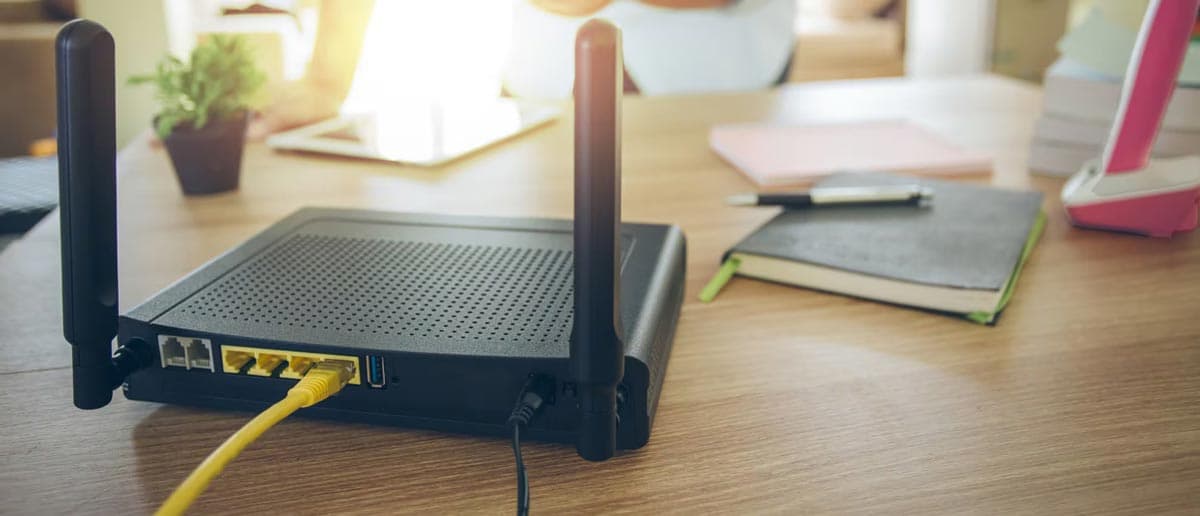
- Router: The device that broadcasts the WiFi signal.
- WiFi Password: Also known as the network security key or passphrase.
HP Support Resources
Access detailed guides for troubleshooting network connectivity issues and optimizing your wireless connection.
Resolving Diagnostic Errors During Startup
Fix network-related diagnostic and startup issues
Computer Locks Up or Freezes
Troubleshoot system and network performance problems
Managing Power Options in Windows 10
Optimize power settings for better network connectivity
Reset Your Computer to Factory Settings
Restore network adapters and connectivity settings
Computer Does Not Start or Boot
Troubleshoot startup and network adapter issues
Setting Up Your WiFi Network
Setting up a WiFi network is a straightforward process that requires a few pieces of equipment and some basic configuration. Here’s a step-by-step guide to help you set up your WiFi network:
1. Gather Your Equipment:
- Wireless Router: This device will broadcast your WiFi signal. Ensure the wireless router supports the latest WiFi standards for optimal performance.
- Modem: Connects to your internet service provider (ISP) to provide internet access.
- Ethernet Cable: Use an ethernet cable to connect your modem to your wireless router.
2. Connect Your Modem to the Router:
- Plug one end of the Ethernet cable into the modem and the other end into the WAN (Wide Area Network) port on your wireless router.
3. Power Up Your Devices:
- Plug in and turn on both your modem and router. Wait a few minutes for them to fully power up and establish a connection.
4. Access Router Settings:
- On your laptop, connect to the router using another Ethernet cable or the default WiFi network (usually labeled on the router).
- Open a web browser and enter the router’s IP address (commonly 192.168.1.1 or 192.168.0.1) to access the router’s admin interface.
5. Configure Your WiFi Network:
- Log in using the default username and password (found in the router’s manual or on a sticker on the router).
- Navigate to the wireless settings section.
- Set your SSID (network name) and choose a strong network security key (WiFi password).
- Select the appropriate security protocol (WPA3 or WPA2 is recommended for better security).
6. Save and Reboot:
- Save your settings and reboot the router if prompted. This will apply your new configurations.
7. Connect Your Devices:
- On your laptop, click the network icon in the taskbar, select your newly created WiFi network, and enter the WiFi password.
- Check the “Connect automatically” box if you want your laptop to connect to this network in the future.
By following these steps, you’ll have your WiFi network up and running, providing a reliable internet connection for all your wireless devices.
How to Connect to WiFi on Windows 10
- Click on the network icon in the taskbar (it looks like a globe or WiFi bars).
You can also access the Wi-Fi quick setting in the notification area to quickly connect to available networks.
- Select the WiFi network you want to connect to from the list.
- Check the box that says “Connect automatically” if you want Windows to connect to this network in the future.
- Click “Connect.”
- Enter the network security key (password) if prompted.
- Click “Next” to finish the connection process.
If you don’t see the network you’re looking for, click “Network & Internet settings” at the bottom of the WiFi list, then select “Show available networks” to refresh the list.
How to Connect to WiFi on Windows 11
- Click on the network icon in the taskbar (it may be combined with the sound and battery icons).
- Click on the arrow next to the WiFi icon to see available networks.
- Select the network you want to connect to.
- Check the box for “Connect automatically” if desired.
- Click “Connect.”
- Enter the network password when prompted.
- Click “Next” to complete the connection.
If the disconnected icon appears, it indicates that the Wi-Fi is turned off. Ensure that your Wi-Fi is activated in the settings.
For those who prefer using settings, you can also connect by going to Start > Settings > Network & Internet > WiFi.
Troubleshooting WiFi Connection Issues: WiFi Password
If you’re experiencing problems connecting to WiFi, try these steps:
- Restart your device: Often, a simple restart can resolve connection issues with your Wi-Fi network.
- Check WiFi is turned on: Ensure the WiFi switch (physical or in settings) is activated.
- Update network drivers:
- Open Device Manager (right-click Start button > Device Manager)
- Expand “Network adapters”
- Right-click your WiFi adapter and select “Update driver”
- Choose “Search automatically for updated driver software”
- Run the Network Troubleshooter:
- Go to Settings > Network & Internet > Status
- Click “Network troubleshooter”
- Follow the on-screen instructions
- Forget the network and reconnect:
- Go to Settings > Network & Internet > WiFi > Manage known networks
- Click on the network name, then “Forget”
- Try reconnecting from scratch
- Check your router:
- Ensure your router is powered on and functioning
- Try restarting it by unplugging for 30 seconds, then plugging back in
- Disable VPN: If you’re using a VPN, try disabling it temporarily to see if it’s causing connection issues.
- Reset network settings:
- Go to Settings > Network & Internet > Status
- Click “Network reset” and follow the prompts
- Check for Windows updates:
- Go to Settings > Update & Security > Windows Update
- Click “Check for updates” and install any available updates
Advanced WiFi Connection Options
For users who need more control over their connections, Windows offers several advanced options:
1. Manual connection:
- Go to Settings > Network & Internet > WiFi > Manage known wireless networks
- Click “Add a new network”
- Enter the network name (SSID), security type, and password
2. View WiFi properties:
- Right-click on a connected network and select “Properties”
- Here you can view detailed information about the connection
3. Set network profile:
- In network properties, choose whether a network is public or private
- This affects network discovery and file sharing settings
4. Metered connection:
- Set a connection as metered to limit data usage on networks with data caps
- In network properties, toggle “Set as metered connection”
5. Use command prompt:
- Open Command Prompt as administrator
- Type “netsh wlan show profiles” to see saved networks
- To connect, type “netsh wlan connect name=YourNetworkName”
6. Connect using WPS (WiFi Protected Setup):
- If your router supports it, press the WPS button on the router
- On your PC, go to Settings > Network & Internet > WiFi
- Click “Connect using WPS button”
Optimizing Your WiFi Connection
Once connected, you can take steps to improve your WiFi experience:
1. Update to latest Windows version: Ensure you have the latest updates for better WiFi performance and security.
2. Adjust power management:
- In Device Manager, go to your WiFi adapter properties
- Under the Power Management tab, uncheck “Allow the computer to turn off this device to save power”
3. Use 5GHz when available: If your router supports it, connect to the 5GHz band for faster speeds (though shorter range).
4. Position matters: Stay closer to your WiFi router for a stronger signal, and minimize obstacles between your device and the router.
5. Consider a WiFi extender: For large spaces, a WiFi extender can help boost your signal range.
6. Update router firmware: Check your router manufacturer’s website for firmware updates.
7. Change WiFi channel: If you’re experiencing interference, try changing your router’s WiFi channel.
8. Use Quality of Service (QoS) settings: If your router supports it, use QoS to prioritize certain types of internet traffic.
WiFi Security Best Practices: Network Security Key
Protecting your WiFi connection is crucial for your online safety:
1. Use strong passwords: Create complex, unique passwords for your Wi-Fi network to enhance security.
2. Enable network encryption: Use WPA3 or WPA2 encryption on your router for the most secure connection.
3. Keep your system updated: Regular updates to Windows and your network drivers can patch security vulnerabilities.
4. Be cautious on public WiFi:
- Avoid accessing sensitive information on public networks
- Use a VPN for added security on public WiFi
- Disable file sharing when on public networks
5. Enable firewall: Ensure Windows Firewall is active for an extra layer of protection.
6. Use guest networks: If your router supports it, set up a guest network for visitors.
7. Disable remote management: Unless needed, turn off remote management on your router.
8. Hide your network name (SSID): While not foolproof, this can deter casual hackers.
Troubleshooting Specific Issues
WiFi Connected But No Internet
If you’re connected to WiFi but have no internet access:
- Check if other devices can connect to the same Wi-Fi network
- Try visiting http://www.msftconnecttest.com/redirect
- If it doesn’t load, you may have a DNS issue. Try changing your DNS server to 8.8.8.8 (Google’s public DNS)
Slow WiFi Speeds
If your WiFi is unusually slow:
- Run a speed test at www.speedtest.net
- Compare the results with your internet plan’s promised speeds
- If speeds are significantly lower, try the optimization tips mentioned earlier
Frequent Disconnects: Network Adapters
If your WiFi keeps disconnecting:
- Check for interference from other electronic devices that may affect your Wi-Fi network
- Update your network adapter driver
- Check for overheating issues on your device. Consider a laptop cooling pad.
Conclusion
Connecting to Wi-Fi on Windows 10 and 11 is generally straightforward, but understanding the nuances can help you troubleshoot issues and optimize your connection. By following this comprehensive guide, you should be able to connect to Wi-Fi networks easily, maintain a stable and secure connection, and resolve most common Wi-Fi issues.
Remember, if you continue to experience persistent issues, don’t hesitate to seek help from your internet service provider or a tech support professional. Whether you’re at home, in the office, or on the go, a reliable Wi-Fi connection is key to staying productive and connected in our digital world. With these tips, tricks, and troubleshooting methods, you’ll be well-equipped to handle most Wi-Fi connection scenarios you encounter.